

Outboard Engine Winterisation
Winterising Your Outboard Engine: A Complete Guide to Protecting Your Investment
After a season of adventure—whether you’ve been sailing, fishing, or simply enjoying the thrill of power boating—there’s one crucial job that every boat owner faces: preparing your engine for the harsh British winter. It’s easy to overlook, but skipping winterisation can lead to costly damage that’s entirely preventable.
When temperatures drop below freezing, water inside your engine can turn to ice. And as we all know, water expands when it freezes. That expansion can crack gear cases, damage cooling jackets, and leave you with a repair bill that makes your eyes water. But that’s not the only risk. Condensation in fuel tanks can lead to corrosion inside your engine, causing piston rings to stick and score the cylinder walls. The result? A loss of compression and a very expensive rebuild.
The good news? With a little care now, you can avoid all of this and ensure your engine is ready to roar back to life when spring arrives. Let’s walk through the process step by step.
Why Winterisation Matters
Think of winterisation as an insurance policy for your engine. It’s not just about frost protection—it’s about preventing corrosion, maintaining lubrication, and keeping electrical systems in top shape. Neglecting these steps can turn a simple start-up in spring into a nightmare of seized parts and electrical faults.
Step 1: Flush the Cooling System
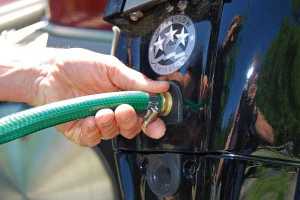
Start by flushing your outboard with fresh water. This removes salt, silt, and debris that can corrode internal components. Outboards are designed to drain themselves when trimmed down, but pockets of water can remain inside the cooling system and exhaust passages. If these freeze, they can crack the gear case.
Here’s what we do:
- After flushing, while the engine is still warm, run it for 2–4 revolutions dry (without a water hookup). This blows out any remaining water from the exhaust outlet and gearbox.
- Once done, trim the engine fully down for storage. This ensures complete drainage.
Step 2: Protect the Cylinders
Condensation is your enemy. Over winter, moisture inside the engine can cause piston rings to oxidise and stick. When you start the engine again, those stuck rings will score the cylinder walls, reducing compression and causing major damage.
To prevent this:
- Disconnect the fuel supply and ignition system (lanyard off).
- Remove the spark plugs and spray fogging oil into each cylinder for about 5 seconds.
- Turn the engine over for a few seconds to spread the oil across the rings.
- Refit the plugs and HT leads (label them first for easy reinstallation).
This simple step keeps your rings free and your cylinders protected.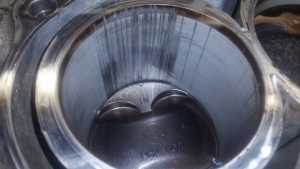
Step 3: Electrical & Steering Care
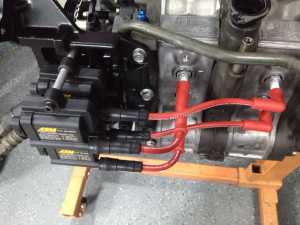
Modern engines rely on clean electrical connections for their computers to function properly. Corrosion here can cause frustrating faults.
- Grease all electrical connectors and steering tubes with Quicksilver 2-4-C grease with Teflon.
- Disconnect or isolate the battery and grease the terminals.
- Finish by spraying the powerhead with a corrosion guard for extra protection.

Step 4: Final Checks
Before you walk away for the winter, take a few minutes to check everything:
- Engine trimmed down
- Battery disconnected
- Electrical connections greased
- Fogging oil applied
- Corrosion guard sprayed
These steps will give your engine the best chance of surviving winter unscathed—and ensure a trouble-free start to the next boating season.
The Bottom Line
Winterisation isn’t glamorous, but it’s essential. A few hours of work now can save you thousands in repairs later. Plus, it gives you peace of mind knowing your engine is safe and ready for another season of adventure.